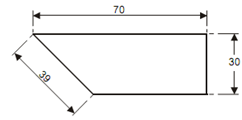
Showing Dimensional Value on Drawings:
Dimensional value shall be displayed on the drawings in characters of enough size to ensure complete legibility. They shall be placed in that a way which they are not separated and crossed by any other line on the drawing. Values shall be indicated on the drawing according to one of the following two processes. Only one method must be used on any one drawing.
Process I - Aligned System
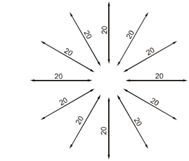
(a) Dimensional value shall be placed/located parallel to their dimension lines and if possible near the middle above and clear of the dimension line.

(b) Values shall be signified so that they may be read from the bottom or from the right hand side of the drawing values on oblique dimensions line shall be oriented as like displayed in diagram.

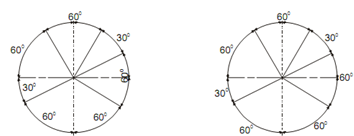
(c) Angular dimensional values might be oriented also as in diagrm.
