Axis Perpendicular to the Principal Plane:
Orthographic Projection of Solid Whenever the Axis Is Perpendicular to One of the Principal Planes and Parallel to the Other
A solid in simple position might be contain its axis perpendicular to one reference plane and parallel to other reference plane. Here the two cases described that are when the axis is perpendicular to VP or HP.
Axis Perpendicular to the HP
For drawing orthographic projection of various solids like as prisms, a cone pyramids and cylinders the general procedure is follow as:
Step-I
First sketch the plan whether base represent the true shape considering guidelines as per illustrated.
Step-II
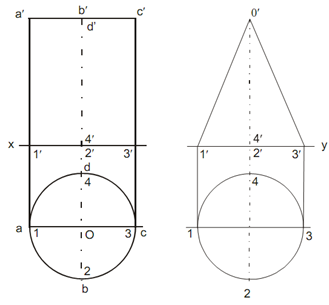
Number the some corners of the base for prisms and pyramids and for cylinder and cone divide the circle in even number of parts as like 8, 12 or 16 and mark the points on circumference of circle as a, b, c, d or 1, 2, 3, 4 and so on.
Step-III
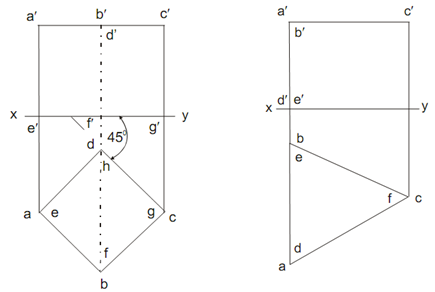
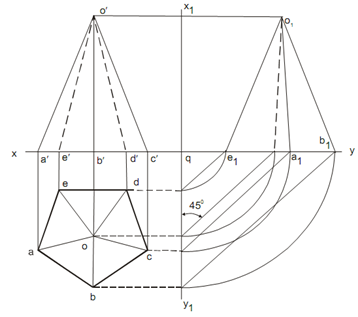
Sketch the elevation along with the using of known length of axis and projecting various points from plan of the solid as like Mark a′ b′ c′ d′ or 1′ 2′ 3′ 4′ ...and so on.
Projections of a cylinder, a cone, a triangular prism, a cube and a pentagonal pyramid are drawn as per above process.


