Q. Explain about Layout Cells?
In Layout view you can draw layout cells and layout tables to define design areas of a document. This task is easier to accomplish if you prepare a sample of the page you're creating before you begin laying out a page.
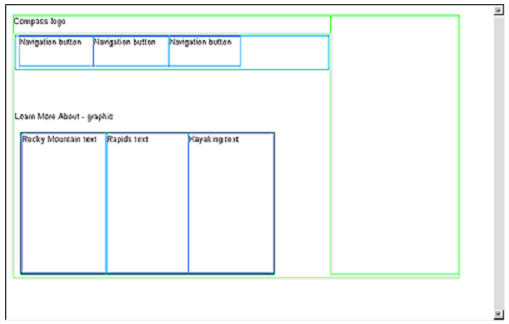
Look at the below sample layout to get an idea of the page layout you're creating in this section of tutorial. There's a cell for Compass logo, a table with three cells for site navigation buttons, a cell for another graphic as well as a table for three cells which will hold text.

You will draw cells and tables similar to this layout like you work in your document. First, you will draw a layout cell in which you would insert Compass logo.
1. Click in Document window of the my_CompassHome document to make document active.
2. If they aren't already open, open following work area tools:
- Objects panel (choose Window > Objects), which you'll use to add objects to your document.
- Property inspector (choose Window > Properties), which you would use to set properties or attributes for objects in your document. If Property inspector isn't already expanded, click expander arrow in the lower right corner so you can see all property options.
3. In Objects panel, click the Draw Layout Cell icon.
4. Move the pointer to Document window; the mouse pointer changes to a drawing tool (looks like a small cross). Click in upper left corner of the document then drag to draw a layout cell.
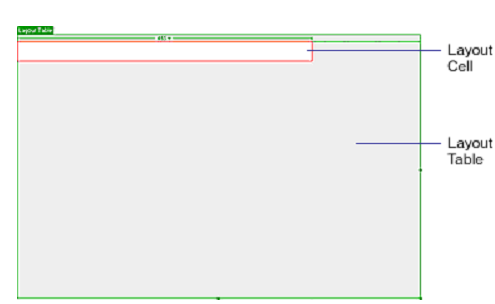
When you release mouse, a layout cell appears in a layout table.

Layout table expands to fill the Document window and defines page layout area. White rectangle is the layout cell you just drew. You can place extra layout cells in gray area of the layout table.